| HOME | USEFUL TOOLS | HINTS & TIPS | GALLERY | CONTACT ME |
MENU
|

Hull - Second Planking |
 Start of Second Planking |
 Rough Sanding |
|---|
Please hover mouse on thumbnail for a bigger picture
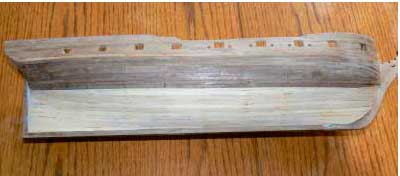
The second planking can now be done using 1mm x 4mm walnut strip. I started the second planking starting at the top edge of the upper gunport. Use the same techniques as the first planking but this time glue the entire under surface of the plank and top and bottom edges to form a tight seal with the neighbouring plank. I used thick cyano for this job as i did not want to leave pin holes. Take your time on the second planking as you should avoid the use filler before painting.
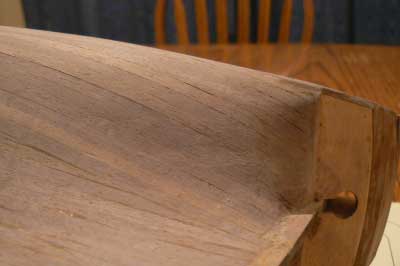
Once this planking is complete plank the main wale area. Leave a little room to fit a knife and needle file into the gunport openings later. Plank to the top of the bulwarks and trim any excess of once the glue is cured.
Rub down the hull as before but this time make sure you have a very even finish as this will show even when painted.It is recommended that an undercoat be applied to aid with finding any faults.
Remove the temporarily fitted upper decks and glue the eight painted gun carriages in place.
NOTE: Rub the gun carriages on some sandpaper to produce a flat surface on their wheels. This will ensure they are seated well onto the deck.
I also rigged the cannon at the edge of the upper decks as it was easier to do now rather than later.
Replace the upper decks, Glue and Pin.