| HOME | USEFUL TOOLS | HINTS & TIPS | GALLERY | CONTACT ME |
MENU
|

Wale, Cheeks & Bulwarks |
 |
 |
 |
 |
|---|
Please hover mouse on thumbnail for a bigger picture
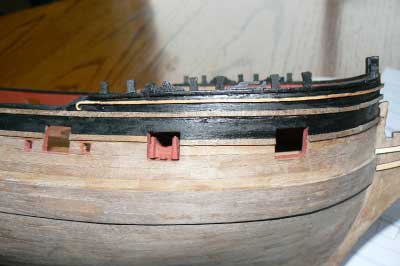
Wale - This is a case of getting both sides symmetrical and making sure you get the position correct using the plans and the decor5ative strips as guides. It is best to paint the top and bottom edges of the strips before gluing. I forgot and it was very hard to obtain a clean line.
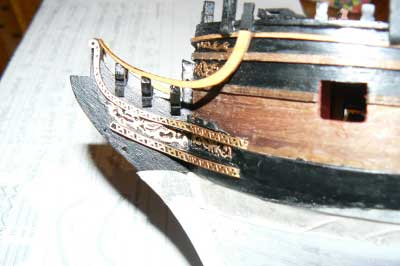
Cheeks - Look at the plans closely! Cut out and fix the head timbers and paint black. Cut, paint and fix the prow rail and lower prow cheek which will need to beveled to attain a good fit. Fix the hawse hole bolsters and drill a hole for the anchor rope.
Follow the instructions for the Cathead assembly and bow head rails.
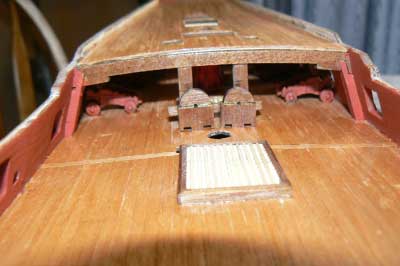
Bulwarks - Line inside the bulwarks with 1x4mm walnut strip. I painted the first (bottom) plank red before i placed it to prevent any paint getting onto the deck boards. Leave a gap to enable you to file back the gunport openings. Once completed sand and paint.At this stage it is best to paint the inner edges of the gun and oar ports red.
NOTE: In some books it is recommended that the gun-ports be lined for a better finish. This is something I will do on my next build as i think it improves the quality of the build.
Back to Top